Expert Advice on Successfully Propagating Clematis Plants: These captivating vines, renowned for their vibrant blooms, can be easily multiplied through various propagation methods. From the simplicity of softwood cuttings to the art of layering, this guide unveils the secrets to successfully propagating your own clematis plants.
Whether you’re a seasoned gardener or a curious beginner, understanding the nuances of clematis propagation empowers you to expand your garden with these stunning climbers. From selecting the right cutting to providing optimal rooting conditions, each step in the process is crucial for success.
This comprehensive guide will equip you with the knowledge and techniques to cultivate a flourishing collection of clematis, adding a touch of elegance and color to your outdoor spaces.
Introduction to Clematis Propagation

Clematis propagation offers numerous benefits for gardeners, from expanding your collection to sharing your favorite varieties with friends and family. It’s a rewarding and cost-effective way to increase your clematis stock, allowing you to enjoy the beauty of these climbing vines without breaking the bank.
There are various methods of clematis propagation, each with its own advantages and considerations.
Methods of Clematis Propagation
Understanding the different methods of clematis propagation empowers you to choose the approach best suited for your needs and resources. Here’s a breakdown of common methods:
- Seed Propagation:This method involves collecting seeds from mature clematis flowers and sowing them in a suitable growing medium. It’s a time-consuming process, as seeds can take several weeks to germinate, and the resulting plants may not be identical to the parent plant.
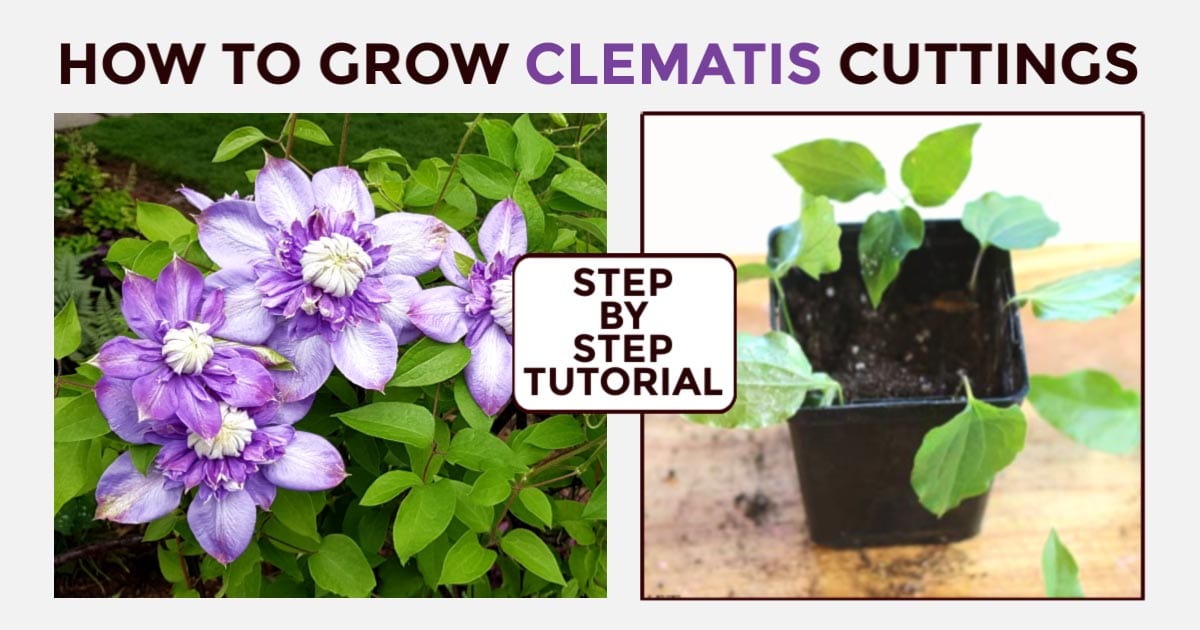
- Softwood Cuttings:This method involves taking cuttings from new, soft growth during the spring or early summer. These cuttings are typically taken from stems that have not yet hardened off. This method is generally successful for clematis, producing plants that are genetically identical to the parent plant.
- Semi-Hardwood Cuttings:This method involves taking cuttings from partially hardened stems during late summer or early fall. These cuttings are taken from stems that have started to harden but are still flexible. This method is often preferred for clematis propagation due to its higher success rate.
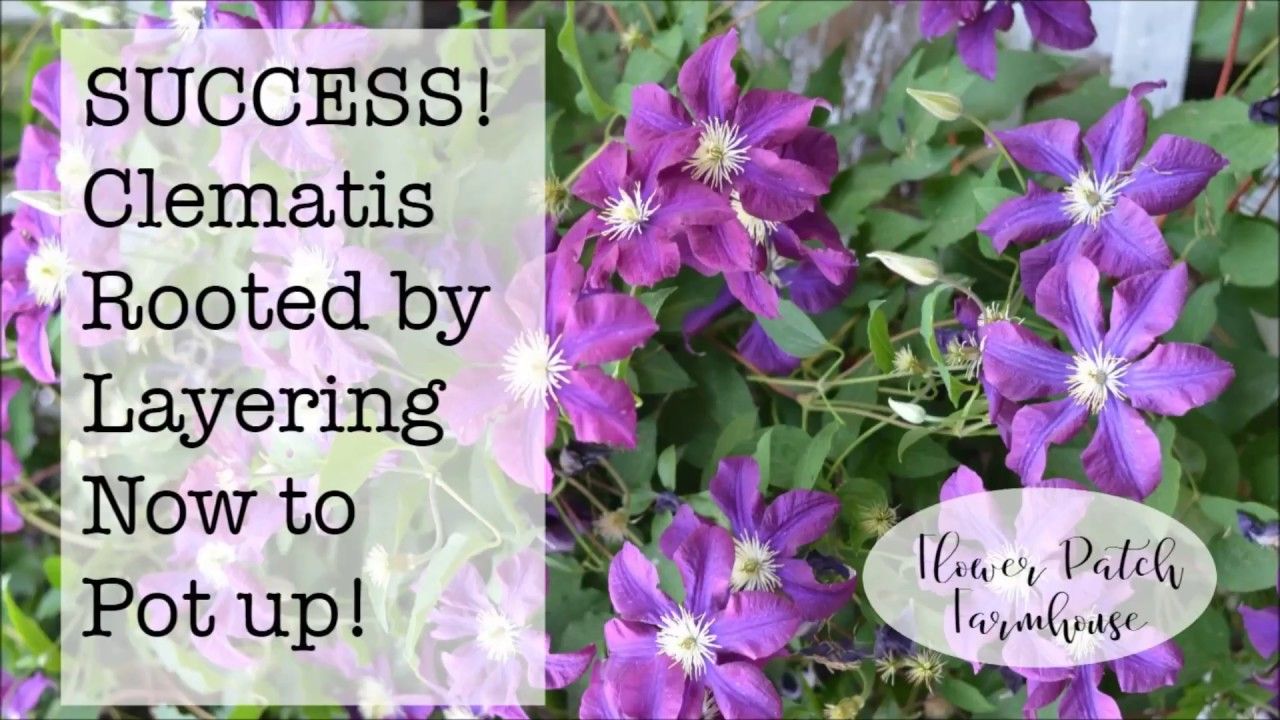
- Layering:This method involves bending a stem of the clematis plant to the ground and burying a portion of it in the soil. The buried portion will eventually root, forming a new plant. This method is generally reliable for clematis and is a good option for propagating varieties that are difficult to root from cuttings.
- Division:This method involves separating a mature clematis plant into multiple smaller plants. This is typically done during the dormant season when the plant is not actively growing. This method is best suited for clematis plants that have developed multiple stems or clumps.
Expert advice on successfully propagating clematis plants often emphasizes the importance of using cuttings, as they can be taken from healthy, established vines. However, for those interested in a different approach, the world of plant propagation offers exciting alternatives. For example, The Top Propagation Methods for Mother of Thousands Revealed provides an in-depth look at various methods for multiplying this fascinating plant.
Returning to clematis, remember that proper care and timing are crucial for successful propagation, ensuring your clematis vines thrive and flourish in your garden.
Essential Tools and Materials
To successfully propagate clematis plants, you’ll need a few essential tools and materials:
- Sharp Knife or Pruning Shears:For making clean cuts on cuttings or stems.
- Rooting Hormone:This powder or liquid helps stimulate root development in cuttings.
- Potting Mix:A well-draining potting mix suitable for clematis plants.
- Propagation Pots or Trays:Containers to hold the cuttings or seedlings.
- Humidity Dome or Plastic Wrap:To create a humid environment for cuttings to root.
- Watering Can:For keeping the potting mix moist.
- Labels:To identify the different clematis varieties you are propagating.
Propagation by Softwood Cuttings
Softwood cuttings are a popular and effective method for propagating clematis plants. This technique involves taking cuttings from the new, soft growth of the plant, which is typically found at the tips of stems. This method is particularly suitable for clematis varieties that are known to root readily.
Selecting Healthy Cuttings
Selecting healthy cuttings is crucial for successful propagation. Choose cuttings from vigorous, disease-free plants. Look for stems that are about 6-8 inches long and have at least 4-5 nodes. Nodes are the points on the stem where leaves or buds grow.
The ideal time for taking softwood cuttings is during the spring or early summer when the new growth is soft and pliable.
Preparing Cuttings for Rooting
Once you have selected your cuttings, prepare them for rooting by making a clean cut at an angle just below a node. Remove any leaves that are below the soil line. This will prevent the leaves from rotting and contaminating the rooting medium.
Rooting Medium and Environment
The best rooting medium for softwood cuttings is a well-draining mix that retains moisture. A common mix is a 50/50 blend of peat moss and perlite. The rooting medium should be kept moist but not soggy. Softwood cuttings require a warm and humid environment to root successfully.
A propagation bench with a heating mat and a humidity dome can create the ideal conditions.
Rooting Hormones, Humidity, and Light Requirements
The success rate of softwood cuttings can be improved by using rooting hormones. These hormones promote root development. The choice of rooting hormone and the specific humidity and light requirements will depend on the variety of clematis.
Clematis Variety |
Rooting Hormone |
Humidity |
Light Requirements |
|---|---|---|---|
Clematis ‘Jackmanii’ |
IBA (Indole-3-butyric acid) powder or liquid |
High humidity (80-90%) |
Bright, indirect light |
Clematis ‘Nelly Moser’ |
IBA (Indole-3-butyric acid) powder or liquid |
High humidity (80-90%) |
Bright, indirect light |
Clematis ‘Ville de Lyon’ |
IBA (Indole-3-butyric acid) powder or liquid |
High humidity (80-90%) |
Bright, indirect light |
Clematis ‘Montana’ |
IBA (Indole-3-butyric acid) powder or liquid |
High humidity (80-90%) |
Bright, indirect light |
Propagation by Hardwood Cuttings
Hardwood cuttings are taken from dormant clematis plants during the winter months, when the plant is not actively growing. This method is ideal for those seeking a reliable way to propagate clematis, as hardwood cuttings have a higher success rate than softwood cuttings.
Expert advice on successfully propagating clematis plants often focuses on techniques like taking cuttings or dividing established plants. But if you’re looking for a more unique and exciting propagation experience, you might consider stepping into the world of carnivorous plants, like the Venus flytrap, as detailed in the article Step Into the World of Carnivorous Plants: Propagating Venus Fly Traps.
While clematis propagation requires patience and careful timing, Venus flytrap propagation can be a fascinating and rewarding endeavor, offering a glimpse into the intriguing world of these carnivorous marvels.
Taking Hardwood Cuttings
Hardwood cuttings are taken from the previous year’s growth, which is characterized by its brown, woody texture. To ensure success, select healthy, mature stems that are about the thickness of a pencil.
- Using sharp pruning shears or a knife, cut the stem into sections approximately 6-8 inches long.
- Each cutting should have at least two nodes (the points where leaves or buds emerge).
- Cut the bottom end of the cutting at a 45-degree angle, just below a node.
- The top end of the cutting should be cut cleanly across, above a node.
Preparing Hardwood Cuttings for Rooting
Before planting the cuttings, it is important to prepare them for rooting.
- Remove any leaves or buds from the bottom 2 inches of the cutting to prevent rot.
- Dip the cut end of the cutting into a rooting hormone powder or solution to stimulate root growth.
- The use of rooting hormone is optional, but it can significantly improve the success rate of propagation.
Rooting Medium and Environment
A well-draining rooting medium is essential for successful propagation.
- A mixture of equal parts peat moss and perlite is a common and effective choice.
- Alternatively, you can use a commercially available rooting mix designed for hardwood cuttings.
Hardwood cuttings require a cool, moist environment to root.
- A cold frame or a greenhouse with a temperature range of 40-50 degrees Fahrenheit is ideal.
- Plant the cuttings in the rooting medium, ensuring that the nodes are buried just below the surface.
- Water the cuttings thoroughly and maintain consistent moisture levels throughout the rooting process.
- Keep the cuttings in the rooting environment for several months, allowing them to develop roots.
Propagation by Layering
Layering is a simple and effective method for propagating clematis plants, especially for those with less experience in plant propagation. It involves encouraging roots to develop on a stem while it’s still attached to the parent plant. This method is particularly well-suited for clematis because it produces strong, healthy plants that are genetically identical to the parent.
Types of Layering Techniques
Layering techniques can be categorized based on the method used to bend the stem and encourage root development. Here are some common layering techniques for clematis:
- Simple Layering:This is the most basic technique. A stem is bent to the ground and buried, leaving the tip exposed. It’s a straightforward method that works well for clematis that grow close to the ground.
- Tip Layering:This technique involves bending the tip of a stem downwards and burying it. It’s often used for clematis with long, flexible stems.
- Mound Layering:In this method, soil is mounded around a stem that’s already growing horizontally. As the stem grows, it’s covered with more soil, encouraging root development along the buried portion.
- Air Layering:This technique involves removing a section of bark from a stem and covering it with a moist medium to encourage root development. Air layering is typically used for clematis with thicker stems and is a good option for propagating difficult-to-root varieties.
Preparing the Clematis Plant and Soil
Proper preparation is essential for successful layering. This involves selecting healthy stems and ensuring the soil is suitable for root development:
- Stem Selection:Choose a healthy, vigorous stem from the current year’s growth. Avoid stems that are diseased, damaged, or too thin.
- Soil Preparation:The soil should be loose, well-drained, and rich in organic matter. Amend the soil with compost or peat moss to improve its structure and fertility.
- Stem Preparation:Gently bend the chosen stem to the ground. If necessary, use a small weight or rock to keep the stem in place. Make a small cut on the underside of the stem where it will be buried. This helps to stimulate root development.
Maintaining the Layered Stems
Once the stems are layered, it’s crucial to maintain them to ensure successful rooting:
- Watering:Keep the soil consistently moist but not waterlogged. Regular watering is essential for root development.
- Weeding:Remove any weeds that compete with the layered stems for nutrients and water.
- Fertilizing:Apply a balanced fertilizer every few weeks to provide the layered stems with essential nutrients. However, avoid over-fertilizing, as this can harm the developing roots.
Effectiveness of Layering Methods
The effectiveness of different layering methods can vary depending on the clematis variety and the specific growing conditions.
- Simple layeringis often the most successful method for clematis that grow close to the ground.
- Tip layeringis a good option for clematis with long, flexible stems.
- Mound layeringcan be effective for clematis that grow horizontally.
- Air layeringis typically used for clematis with thicker stems and can be a successful option for difficult-to-root varieties.
Propagation by Division
Dividing clematis plants is a simple and effective method of propagation, particularly suitable for clump-forming varieties. This technique involves separating the plant’s root ball into smaller portions, each containing a healthy root system and growth points, to create new individual plants.
Selecting Healthy Divisions, Expert Advice on Successfully Propagating Clematis Plants
Choosing healthy divisions is crucial for successful propagation. Look for clematis plants that are vigorous and free from disease or pest infestations. The root ball should be firm and well-developed, indicating a strong root system. Avoid selecting divisions from plants that are stressed, overcrowded, or showing signs of decline.
Preparing Divisions for Planting
Once you’ve selected healthy divisions, prepare them for planting. Carefully separate the root ball into smaller portions, ensuring that each division contains a healthy root system and at least one growth point. Use a sharp knife or pruning shears to make clean cuts.
Remove any damaged or diseased roots.
Ideal Time of Year and Planting Conditions
The ideal time to divide clematis plants is in early spring, before new growth emerges. This allows the divisions to establish themselves before the summer heat arrives. Choose a planting site that receives partial shade and well-drained soil. Amend the soil with compost or other organic matter to improve drainage and fertility.
Maintaining Divided Plants
After planting, water the divisions thoroughly to help them establish roots. Provide regular watering, especially during dry periods. Fertilize the plants with a balanced fertilizer to promote healthy growth. Monitor the plants for signs of pests or diseases and take appropriate action if necessary.
Troubleshooting and Best Practices: Expert Advice On Successfully Propagating Clematis Plants
Successfully propagating clematis plants requires attention to detail and addressing potential challenges that may arise during the process. Understanding common issues and implementing preventative measures can significantly increase your success rate.
Common Challenges and Solutions
- Root Rot:Overwatering or poorly draining soil can lead to root rot. This can be prevented by using well-draining potting mix and avoiding overwatering. If root rot is suspected, repotting the clematis in fresh, well-draining soil can help.
- Fungal Diseases:Clematis are susceptible to fungal diseases, such as powdery mildew and leaf spot. Maintaining good air circulation and avoiding overhead watering can help prevent these diseases. If fungal infections occur, treat them with an appropriate fungicide.
- Pests:Aphids, spider mites, and other pests can infest clematis plants. Regular inspection and timely intervention with insecticidal soap or other appropriate pest control methods are essential.
- Wilting:Clematis plants may wilt due to insufficient watering, root damage, or environmental stress. Ensure consistent watering and protect the plants from extreme temperatures and strong winds.
Maintaining Healthy Clematis Plants
After successful propagation, it’s crucial to maintain healthy clematis plants. This involves providing them with the optimal growing conditions.
- Watering:Clematis plants require regular watering, especially during dry periods. Water deeply and allow the soil to dry slightly between waterings. Avoid overwatering, as it can lead to root rot.
- Fertilizing:Clematis plants benefit from regular fertilization, especially during the growing season. Use a balanced fertilizer specifically formulated for flowering plants.
- Pruning:Regular pruning helps maintain the shape and health of clematis plants. Pruning also encourages new growth and flowering. The specific pruning method depends on the clematis variety.
- Pest and Disease Control:Regularly inspect your clematis plants for signs of pests and diseases. Address any issues promptly to prevent them from spreading.
Choosing the Best Location and Soil Conditions
Selecting the right location and soil conditions is crucial for the successful growth and flowering of clematis plants.
- Sunlight:Most clematis varieties thrive in full sun to partial shade. They prefer at least 4-6 hours of direct sunlight per day.
- Soil:Clematis plants prefer well-draining soil that is rich in organic matter. Avoid planting them in heavy clay soils or areas with poor drainage.
- Support:Clematis plants are vigorous climbers and require a sturdy support structure to climb. Trellises, fences, or arbors can provide the necessary support.
Closing Summary

Mastering the art of clematis propagation opens up a world of possibilities for expanding your garden and sharing the beauty of these captivating vines. With the right knowledge and techniques, you can easily multiply your clematis collection, creating a vibrant tapestry of color and fragrance.
Whether you choose to propagate through cuttings, layering, or division, the satisfaction of nurturing new life from your existing plants is a rewarding experience. So, embark on this journey of propagation and witness the transformative power of these remarkable climbers.
Essential FAQs
How long does it take for clematis cuttings to root?
The time it takes for clematis cuttings to root varies depending on the method, the variety, and the environmental conditions. Generally, softwood cuttings can root within 4-6 weeks, while hardwood cuttings may take several months.
What is the best time of year to propagate clematis?
The best time to propagate clematis is during the growing season, typically from spring to early summer for softwood cuttings and late fall to early winter for hardwood cuttings. Layering can be done throughout the growing season, while division is best performed in early spring or late fall.
Can I propagate clematis from seed?
While clematis can be propagated from seed, it is a more time-consuming and less reliable method than cuttings, layering, or division. Seeds often require stratification (exposure to cold temperatures) before germination, and the resulting plants may not be true to the parent plant.
